Wednesday, May 19, 2010

Further Insight into my Insanity: a small note to my Mother


It's genetic.

This is not to say that my sisters don't having serious nesting insticts, because they most certainly do. Charlee is a terrific cook, sewer, and gardener. Meredith also excels at cooking, decorating, fashion, and knitting. They both enjoy an attractive environment and have a good eye for it.

But I can go for 36 hours on no sleep, food, and not really feel tired as long as I'm doing a creative project where I can impact my environment creatively. It's as though I am chemically, genetically, divinely compelled to do it.

In this, only my mother can truly empathize.

When she isn't on quilting retreats, she's doing glass mosiac art pieces in her barn studio. When not glass, she's a serious gardener. When not tending, she's building furniture - like the built in entertainment system or the redwood outdoor day bed. When she's not building furniture, she's attacking her bathroom tile, or playing with power tools, or knitting, or probably something completely incredible.

And yes, she will have trouble falling asleep at night...12am...1am...2am... and up at 5am because an idea for tile layout has struck her and she needs to draw it so she can go back to sleep.

Sounds painfully familiar.

I also get many of my talents from her, the things I'm proud of and I lean on in my career: social acuity, charismatic joke telling and teaching, persuasion, extroversion, mentoring strength, etc. We've both made businesses out of our artistry, creativity, ingenuity, and overall "something extra-ness". She became a marketer/business model advisor and teacher. I became a dancer/teacher/coach.

There is something that feels less lonely when I think about these things, when it's 11pm and I'm just dragging out my joint compound bucket. To know that it's not just a hobby, it's something physical that I can prove. It feels validating.

So, to my mother, in a month I'm already thinking about mothers and legacies and this genetic pool we all swim, thanks for this chemical imbalance that deprives me of much needed sleep, keeps me injured, and brings immense joy into my life. Thanks, Mom.

Monday, May 17, 2010

Birthday party panic! Help?


I had planned this brilliant half birthday party for Hazel, who will be celebrating turning 2 last December 2009. It was to be entirely outdoors with the most brilliant activities, favors, treats, etc.

BUT it's going to be rain, thunder, and lightening on Saturday!

So, I'm mildly scrambling for ideas on how to occupy 15 or so 2-year-olds indoors.

I had planned on a gardening theme. Kids would pluck little pails hanging from our tree, write their name in permanent marker, and then decorate it with paint, markers, stamps, stickers, glitter, etc. Inside the pails would be toys like kazoos, bubbles, chalk, etc. When lunch had been served, I would bring out a troff for the kids to help me mix and shovel "dirt cake" into their pails, complete with gummi worms and maltball eggs, and they would eat directly from their pail.

I can imagine a troff of "dirt cake" managing to escape it's container and end up all over my dining room...

So, ideas? Please?

Saturday, May 15, 2010

DIY: Bathroom remodel proposal: audience survey?

A couple days ago, I decided to take some stored up dance money/Christmas money from my Dad, and do a remodel to our guest bathroom.

Yes, I'm bored. How can you tell?

I am, however, torn about the floor and the tub.

The tub was sprayed with a white acrylic and is now peeling in some places. It is otherwise a decent, heavy cast iron tub.

The floor is well-installed, but the material choice is a 2" white ceramic square with dingy old grout.

Here's the bathroom as is:


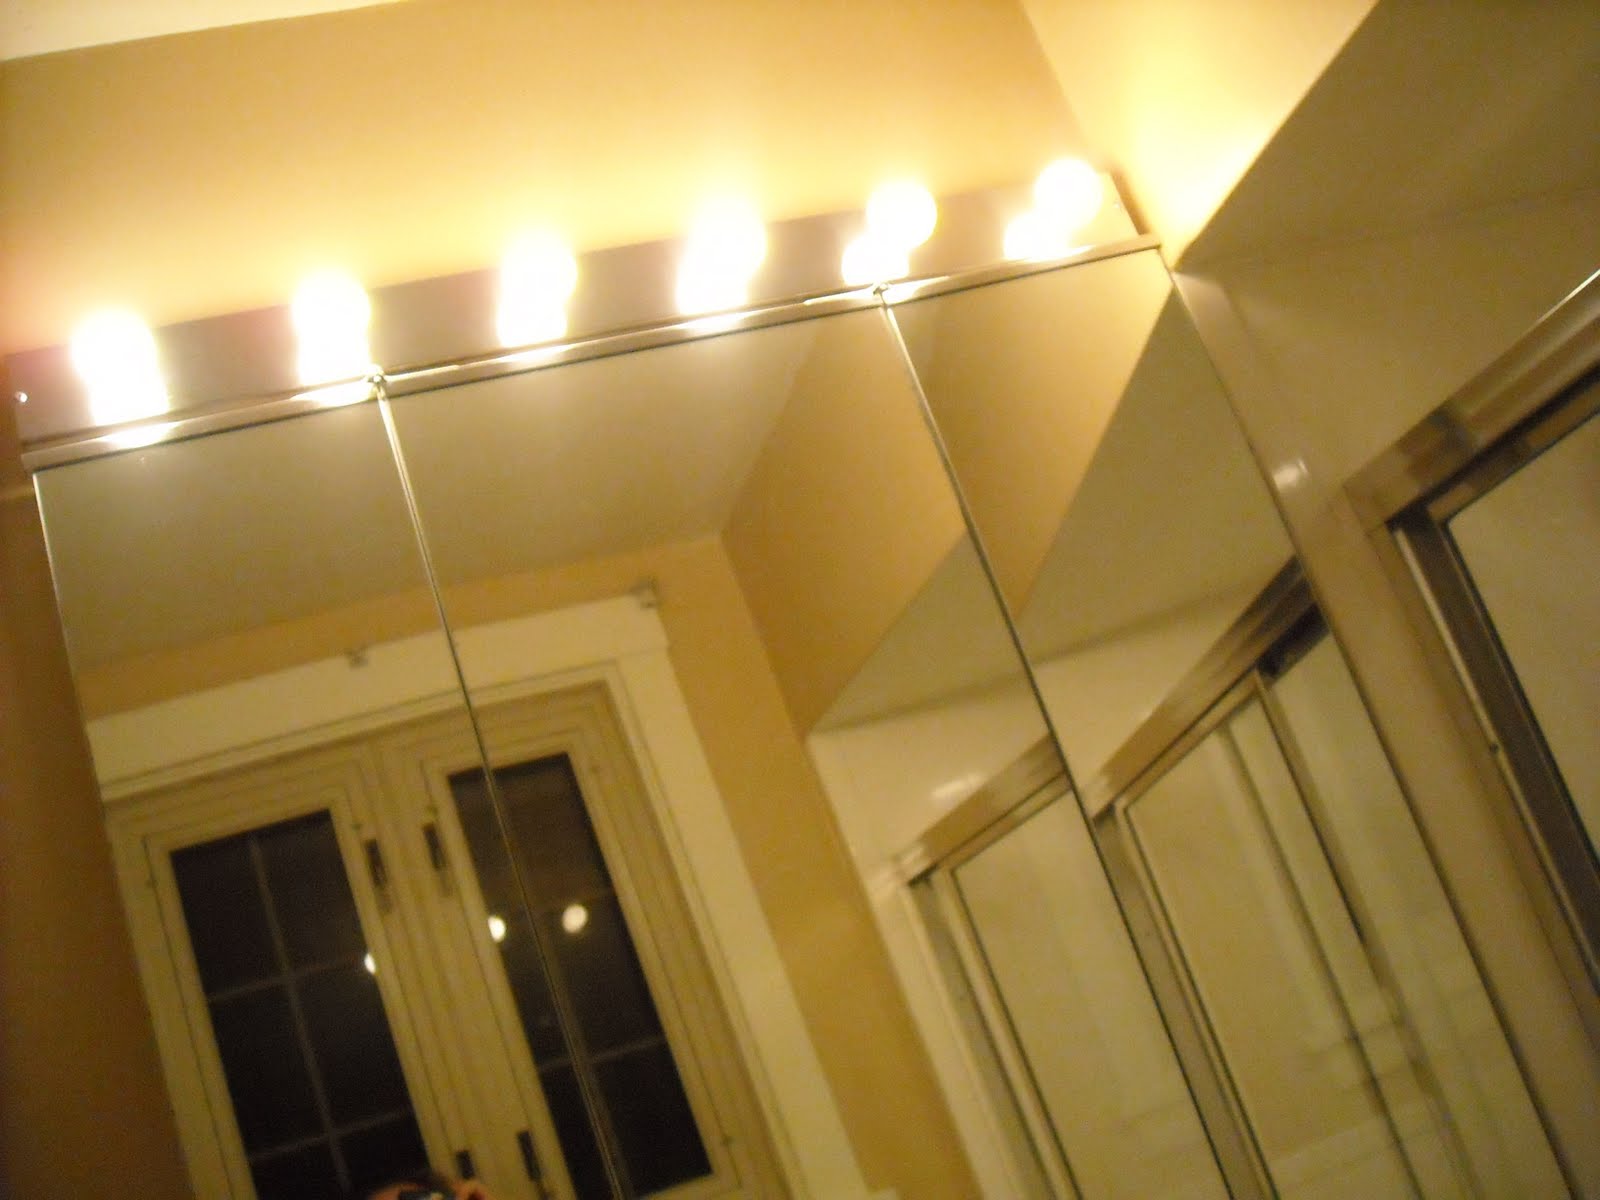
1960's vanity mirror and Hollywood lighting is inspiring. It inspires a remodel.


Acrylic coat peel number 1.


Peel number 2.


Formica...my exhusband's obnoxious brother.


The poorly chosen but well-installed tile floor.


Proposal?

Floor: Do I keep this floor or dig it up and put down carerra marble to match vanity countertop? Or do I keep it because it's white and secure?

Tub: Can I respray it? Leave it? Replace it? I really just wanted a face lift.

The inspiration was a super clearance on a vanity - originally $480, marked down to $80. There were 3 in stock, and in a single 20 minute period, they were gone. I saw it, went to a different aisle to get help from an employee, came back, and it was gone! Luckily, they had 2 more in stock. I snagged it and someone took the third 10 minutes after me. Poof! Carpe diem!

But now, I have a huge 37" cherry stained vanity sitting in my dining room, complete with a carerra marble counter top, pre-installed undermount sink, vintage style faucet...you get the picture.

Here's the new vanity:


Sigh...vintage style faucet in brushed chrome, complete with H and C on handles to nod better days.


Carerra marble top with pre-installed undermount sink. Carerra... a good name for my next daughter?


Solid wood, cherry stain (probably will paint white and change handles to glass knobs), with hidden storage drawers inside and blowdryer/curling iron hooks on door. This kind of sophistication and organization in the morning...I might even feel prettier!


So I'm committed now. It's no longer a whim or passing remodeler's fantasy. I now have to decide on at least the floor before installing the new vanity combo.

To frustrate my efforts, today I fell down the stairs and mildly sprained my knee and threw my back out. Ugh. This is also when I'm supposed to be getting stong and limber to do a routine with my potential new dance partner.

Is my body telling me to slow down? Does it know something I don't? I think I have Alien Design Syndrome (vs Alien Hand Syndrome). Parts of my body run away from me and I can't control the fact that I'm suddenly tiling and I don't quite know how I got there or how to stop it...

Truth is, I can't sleep well unless I've done something projecty and designy that day. Hours of HGTV doesn't cut it anymore. I need to move and create (hence my inability to resist a good vanity and postpone a bathroom remodel). Maybe I can just create storyboard design ideas for my house, a dozen plans for each space, and that will scratch the itch and prevent my implusive remodeling tendancies. I truly just go about my day, thinking dreaming, and then poof! I'm tiling and I'm confused. Like sleep walking.

Sleep tiling.

Help.


Me when it's midnight and I'm not sleeping because I'm dreaming about my unborn daughter Carerra...

(PS - no, I'm not pregnant.)

Tuesday, April 27, 2010

TP: Throw Pillows, Custom but Cheap

This all started with a serious sale at Joann's on designer sample fabrics. Just the squares of sample fabric that one special orders from. The fabric line was discontinued, so we scored 17" x 17" squares of fabric to make the perfect throw pillows, puling colors from the area rug.

What made them special were a couple things:

1. How we paired the fabrics
2. How we overlapped some fabrics
3. How we added button details

Note: I am an amateur sewer by any definition! Any improvements you amazing sewers out there can offer, I would LOVE to hear!

I could barely thread my sewing machine when I started this project, but I kept my owner's manual and my mother's phone number handy. I learned all these neat tricks and settings to best utilize my digital sewing machine Aaron bought for me at least 4 Christmases ago. And they turned out great!

Added note: I added zippers to every pillow case so Tania could take out the pillow and throw the cases in the washing machine, if needed. Not all are machine washable, but in case of grape juice, she has a back-up plan. The only one that doesn't work for is the dimpled pillow. But, that one also has fabric that blends dirt the best. There's a method to my madness...

Pillow #1: Silk Plaid and Chocolate Chenille


I bought 16" x 16" pillows from Joann's for cheap ($5 each?), leaving me 2" of extra fabric on either side. With 17" squares of fabric, I need to keep my margins tight to not over stuff these pillow cases.

1. Pin fabrics together with the nice side inside, being sure to leave the desired length of fabric along the seam (ie: 1" of extra fabric beyond the sewing seam would have taken away much needed fabric for the large pillow fillers).

2. Must do zipper first. Many ways to do it. Directions for each zipper style are on the zipper package. Just make sure you leave the zipper UN-zipped as you sew the remaining edges, since the zipper handle will be inside after sewing edges and you'll need it to open and turn it right side out.

Reader: Please offer any tips you might have for sewing zippers, as I really fudged my way through this one.

3. Sew all sides, being sure to double up seams on corners for adds strength.

4. Turn inside out and stuff with pillow. Zip, and cuddle.

Pillow #2: Knubby chenille and Chocolate Stripe with Leather Button Dimple


How To:

1. Follow all steps of pillow #1

2. With needle and thread, pierce center of pillow and loop a button on both sides. Sneak behind the buttons to do several loops, pulling tight with each loop. Knot it and cut short to hide behind button. Sit back, and admire your handy work.

Pillow #3: Velvet Honey Stripe and Honey Branch Inside of Silk


Note: With the casual feel in the room, we didn't want a lot fo shine and shimmer. So we found silk we liked , but used the inside of the fabric. It ended up having a slight glow and reflection rather than a full on shiny sheen.

How To:

Follow steps from Pillow #1

Pillow #4: Geometric Ivory Chenille and French Provincial Green Silk with Ceramic Tile Button Overlap


This silk wasn't too shiny, and it had bumble bees on it. I'm a sucker for bumble bees

How To:

In addition to following steps from Pillow #1, one must note that we had to use a smaller, rectangular pillow to get the same 17" square of fabric to overlap the next. So I got a rectangular pillow (12" x 16"), also on the cheap from Joann's.

When pinning the fabrics, I just cut the green silk 4" shorter than the other pillows and sewed a edge before pinning it to the other fabric. To sew and edge, just fold over the edge of the fabric and run the sewing needle along that fold as close to the edge as is comfortable.

No need for a zipper on this one, since it closes with a button. But the button was to big for my sewing machine to do a button hole for. So I sewed it directly on top of the overlapping fabric and used an old bra hook to close the fabrics inside.

Pillow #5: Muslin whimsy overlapping linen-looking tweed with knotty wooden buttons; Lattice chenille


This one was the trickiest and, in my opinion, the prettiest.

Hot To:

1. Same thing as pillow #1, except this time I had to also pin the muslin to the inside so when flipped right side out, there would be half a sheet of muslin sticking out of one edge of the pillow. I still do the zipper first, I just do all the careful pinning beforehand.

2a. I finished the pillow like the others, and then added the buttons and button holes.

2b. I have a setting and a special foot for sewing buttons. I measured the diameter of the button, clicked the footer to match that measurement, and then attached it to the machine and sewed directly onto the muslin.

2c. I used my stick remover to cut a hole inbetween the button hole stitching.

2d. I sewed the button onto the teed beneath the muslin to line up with the hold. Button and cuddle.


TP: Old Chair, New Life


Why buy a new chair for the activity desk when you have a crumby, beaten down, old chair with red faux leather upholstery to enjoy?

And Stephanie to reupholster and paint it.


How To:

Paint:

1. Sand with fine grit sand paper until it is rough to touch, or at least the shine is dulled.

2. Prime.

3. Paint with Living Room trim paint - 2 coats.

Note: In areas, like the flower carving in chair back, the "stipple" method is best. Stippling basically means using your brusk to poke and push the paint into the nooks. It's a "get it into there however you can" method. It just happens to have a fancy name for it.

Upholstery:


This sucker had two layers of nasty fabric, the first of which is the faux red lather, and the second was a turquoise vinyl grasscloth pattern I've never seen and won't find in nature.

1. Unscrew seat from chair (flip it over, there will be screws from the wood frame of the seat into the base of the chair).

2. Carefully remove nails with a hammer. Recycle nails for new upholstery.

3. I reused the foam padding. Cut new fabric (a chocolate colored, staing resistant micro suede) with at least 3" extra around perimeter of seat.

4. Pulling from opposite ends of fabric at a time, nail to wood base of seat. For example, if we imagine a NSEW compass on the seat, nail from North and South simultaneously and start from middle out. Then do the same between East and West. Finish at the corners, folding over fabric as needed for a tight finish.

5. Rescrew seat onto chair base in the same holes.

6. Sit on it and finger paint.

Sunday, April 25, 2010

TP: Refurbishing an Old, Broken Typewriter Desk into a Computer/Craft Station


The story behind this desk has changed from the following:

"It was my (John's) grandfather's desk. I used it in college and would love to restore it for the kids to use."

to...

"I got it from a buddy in college. It was broken then, too. Anything you do it it can only improve it. Have at it."

So, I have'd at it.

I went online and found the same make and model typewriter desk - Jackson something or other: "Built Like a Stone Wall". The ghostly hinges inside were intened to support a fold open tray upon which one's typerwriter would sit. When not in use, the tray would fold to a diagonal, hiding the typewriter in a hidden tray inside.


Perfect for a laptop in a family of computer game officionados - or at least one - Naomi. Though, Both she and Sophy enjoyed crafting and painting.

But they had no real space to do it. They had a tiny table with undersized chairs, and the supplies scattered here and there across the living room and the house.

Wouldn't it be great if my dear friend, Tania, lived in a world in which there was one designated area for crafts and computer games that, when in use, enchanted and organized the kids and, when dormant, was an attractive storage console for the living room?

Wouldn't it be even better if it had inlaid wallpaper on the drawers (leftover from the fireplace accent wall), repainted surfaces, repaired tray for computer, rods and containters on side to hold crayons and paint brushes, oil-rubbed bronze knobs and pulls, and perhaps a collage of family photos printed in sepis tones hidden underneath the desktop to be revealed only when the desk is open and being used for campy fun family activities?!?!?!

Yes, I thought that would be better, too.

How To:

1. The rods:


A Lowe's find intended to go on magnetic surfaces. Some double sided sticky pads and poof, they attached to the side without any screws that would impede the movement of the drawers adjacent to them.

The purple containers have a lip that hooks easily on the small rod. Only $1 each! I wish they came in white, brown, or clear to do with the desk's color scheme. For about $7 each, there were kitchen containers in white and stainless steel. Not cheap enough and no stainless amongst my oil-rubbed bronze finishes. They can also be washed easily in the dishwasher.

2. Paint:

Simple enough. Sand until rough to touch and dull to shine. One coat of primer. Two coats of color paint. We used the leftover trim paint fromt he living room. I wanted to keep the piece light since it would have so much volume and scale in the space.

3. Repairing the tray:

Tinkering around with a piece of cardboard at first helped me determine the correct alignment for the hinges to fold and unfold appropriately.

I used screws and washers: Where the hinge attaches to the inside wall, I used screws that had thread on the tip and were smooth toward the head. Threads secured into wall and smooth part was frictionless where the hinges pivoted. Washers kept everything from bumping and scarping the wood.

Attaching the tray to the hinges:

Flat tipped screw and a nut did the trick. However, I wish there was a cap to put over the nut to smooth out the look. Oh well.

Tray material:

Another steal. Instead of using a nice wood, or even paint-grad birch plywood, I used MDF (medium density fiberboard) and painted it to match. It's cheap and durab;e to begin with. But I saw a scrap at Lowe's that was close to the right size and they gave it to me for free since it was such a small piece of leftover material. They even cut it for me, though I hit it with a jigsaw later for measurement corrections.

FYI: A Jigsaw is a great DIY starter power tool. It easy to handle, light, and is pretty versatile. I think mine was only $30 or so.

4. Countertop dilemma:

I wanted to use an epoxy coat, which it the stuff that gives wooden bars a water-proof, glass-like finish. Turns out it needs to go on bare wood. Darn. The wood was too damaged and ugly not to paint, and it wouldn't go on a painted surface. Double darn. And we couldn't do a whole new counter top because a section needed to unfold from the rest of the countertop.

Wallpaper to match the inlay on the drawers, you say?

Would have been brilliant if we had wnough leftover and another $200 to splurgle on another double roll. Ouch. It was also washable, which would have been perfect for a painting station.

Triple darn.

A little chocolate colored paint did the trick, and gave Tania the hits of chocolate she was craving.

5. The luscious legs:

Left 'em the same weathered self they already were. It's showed where it's been. The feet of a stranger trying to tell us where he's been, but mute. They were beautiful. And they spoke to the dark bronze finish.

6. The family collage:


We had some leftover sample wallpaper that made for a scrapbook background. Remaining wallpaper paste and an exacto suffice application. I had Tania email me family photos and I used my Mac to retouch and sepia tint them. Printed them on my printer. Deco Paged them onto the wallpaper background. Follow the instruction on the deco page you get from Michael's. Use a sponge brush.

Thursday, April 8, 2010

The Tania Project (TP): Phase 1 AFTER Preview


After avalanches, monsoons, traveling, colds, boo boos, and more, phase 1 of Tania's living room is winding up. We did:

1. Caulking, spackling, and painting the walls and aaaaaaall the trim (reviving that beautiful mantle, too!)
2. Wallpapering the fireplace wall with a creamy linen patterned, washable/stain resistant, designer wallpaper.
3. Hanging the bronze curtain rods in brick and other stubborn stone products.
4. Rewiring the original, dingy, black outlets (complete with knob and tube wiring - eek)
5. Replacing the brass on white 1980's fan with a frosted globe and bronze fixture - revealing the ceiling medallion behind it.
6. Cleaning and organizing!
7. Arranging the books and accesories to tempt the local readers and cover purusers.
8. Sewing new throw pillows from designer sample fabrics in interesting, button and dimpled designs.
9. Refinishing and reupholstering an old chair.
10. Refurbishing an antique type-writer's desk for an activity/computer station.

What's next?

Probably more details, hangings, better organizing, a couple bronze lamps (bye bye 80's floor lamp).

But perhaps... an audience vote!!! ...we could do:

- Trimming out the bookshelves to look like on seemless piece. Like molded built-ins.
- Tiling the Fireplace in maybe a creamy, rustic travertine to echo the color scheme. Or slate? Or marble?
- Wainscoting all around the room. Crown molding anyone?
- New blinds?

Details of each project and more detailed pictures will come shortly. This is just the appetizer! Enjoy!


I'm a super tough contractor!!! GRRRRRRRRRRR!!!


I fudged the drill hole. I am ashamed.


Sophy saves me from my graceless misery and becomes my amazingly helpful helper!